Christmas Mice
MATERIALS
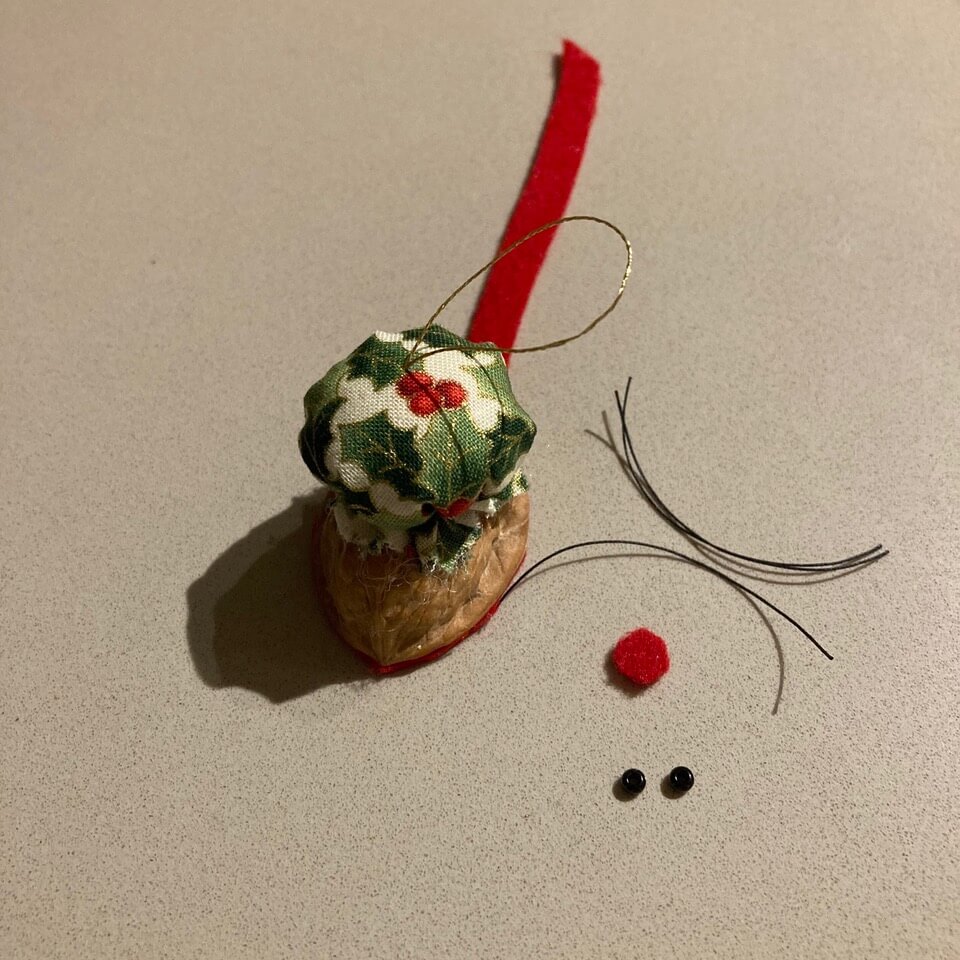
Walnut shells
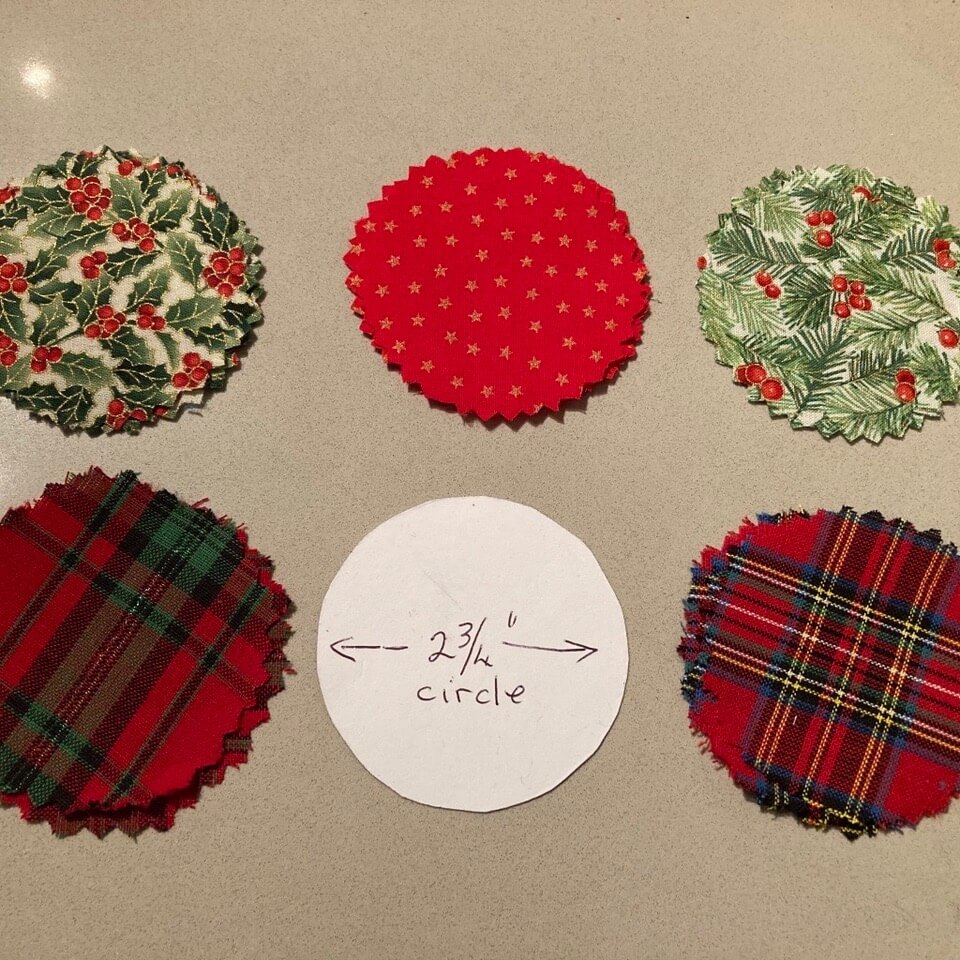
Christmas cotton fabric scraps
Red felt
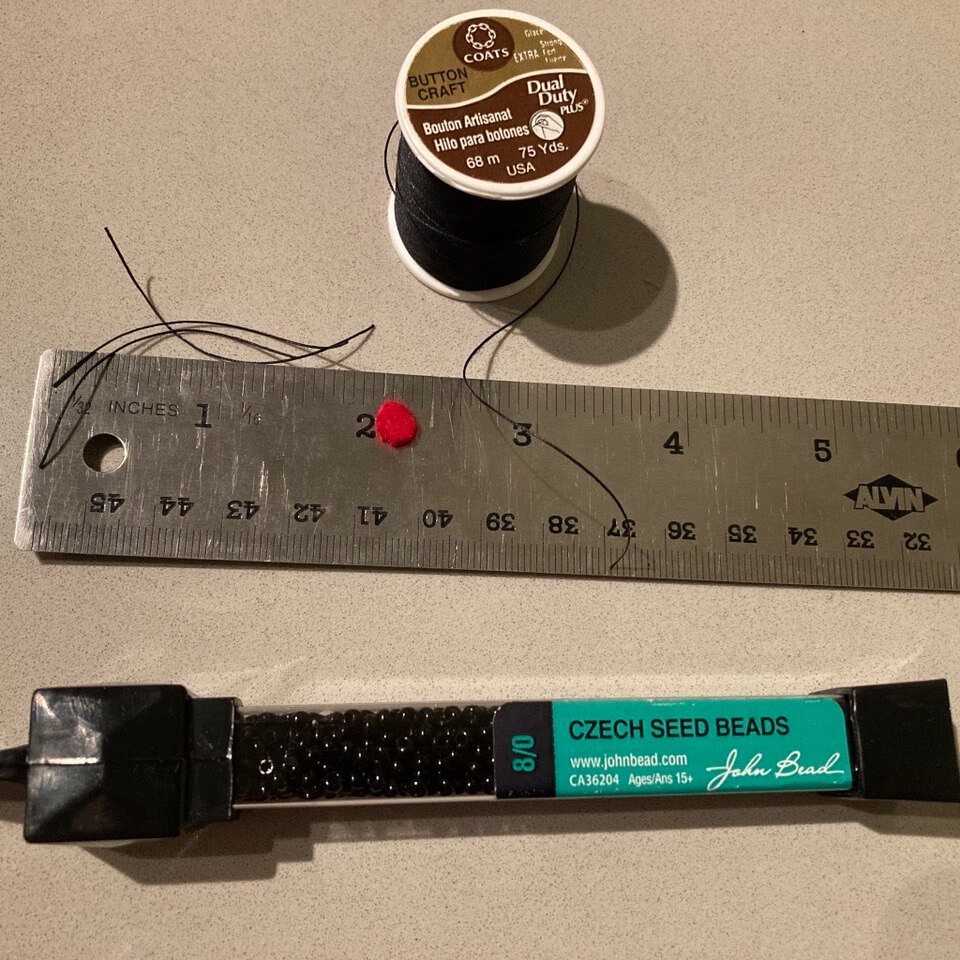
Black seed beads
Thick black thread ie button hole thread
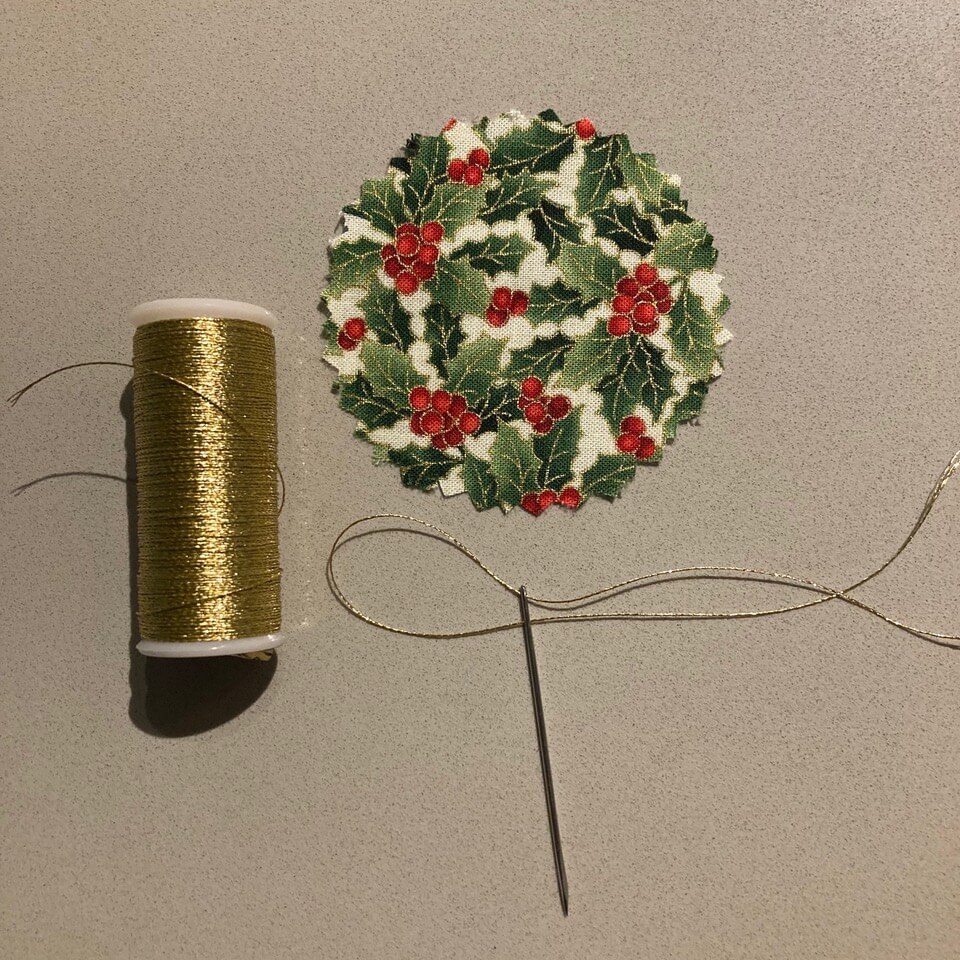
Gold thread
Stuffing
Thread of appropriate color
Needles
Ruler
Cardboard circle 2.75” diameter
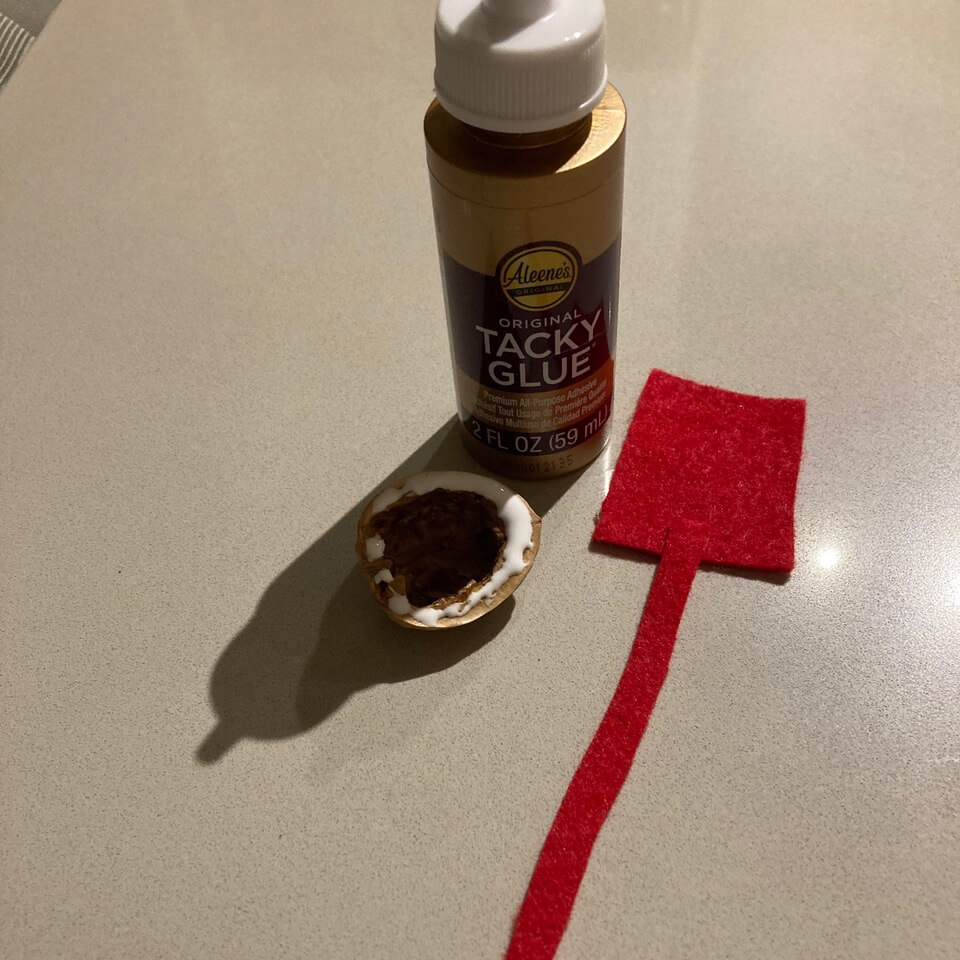
Tacky glue


Carefully open the walnuts and remove all nuts etc.
Cut a long piece of felt and place and glue near edge of another piece of felt.
Put glue on the base of the walnut shell and place close to edge then let dry
while you prepare the other parts.
Cut 3 pieces of black thread 2″ long.


Trim the excess felt close to the shell – carefully not to cut the tail!
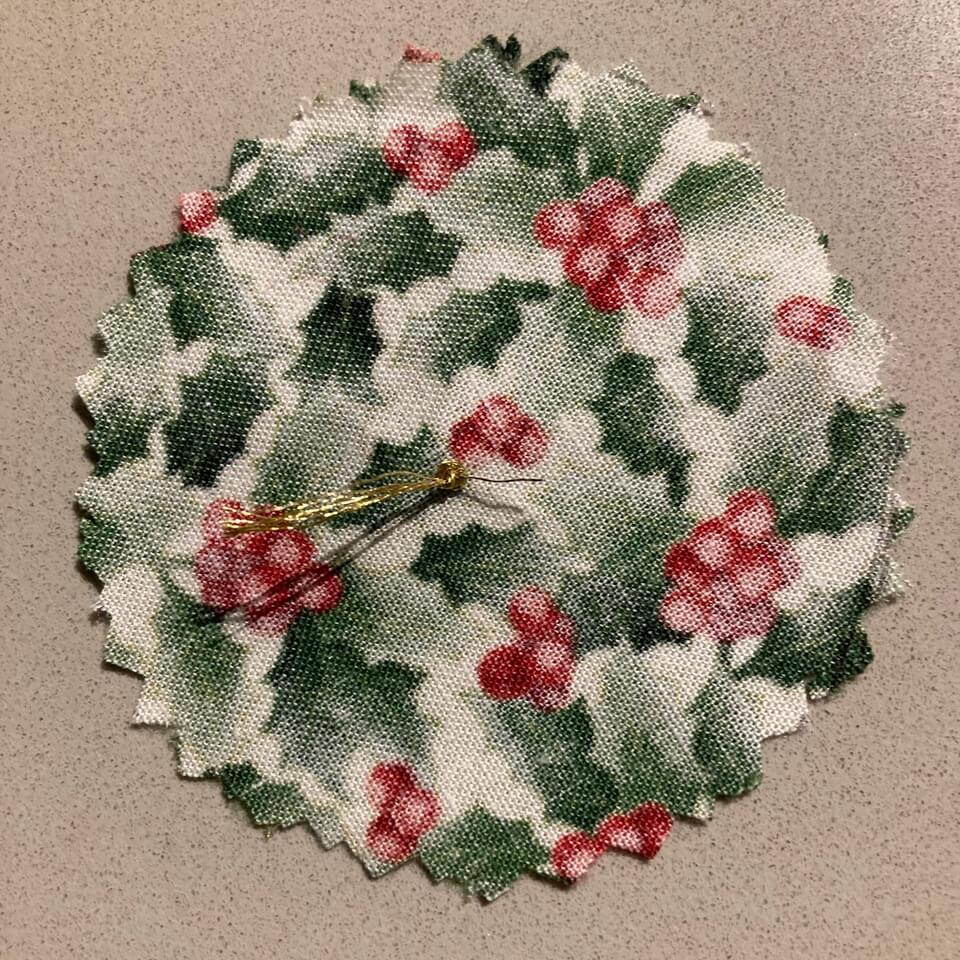
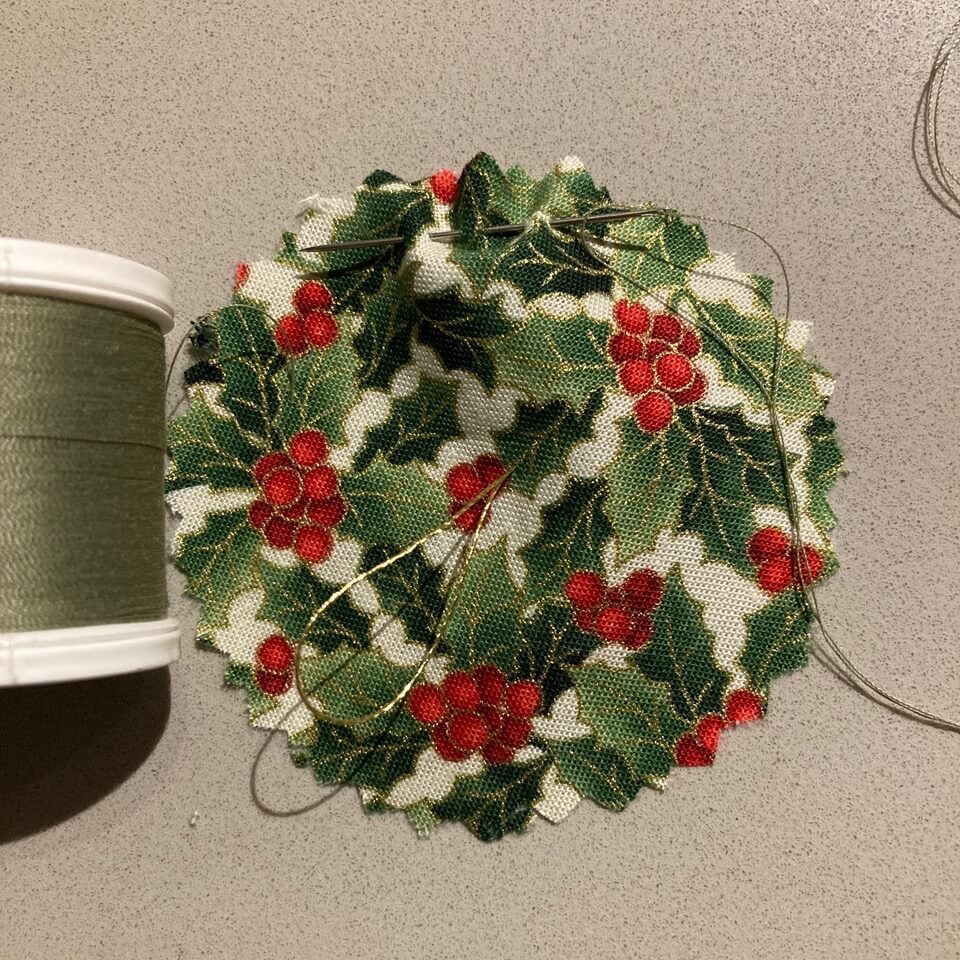
Use cardboard template and cut circles of fabric with pinking scissors.
Make a loop of gold thread by pulling through the cloth circle in the middle.
Make a double knot on the wrong site so it is secure.
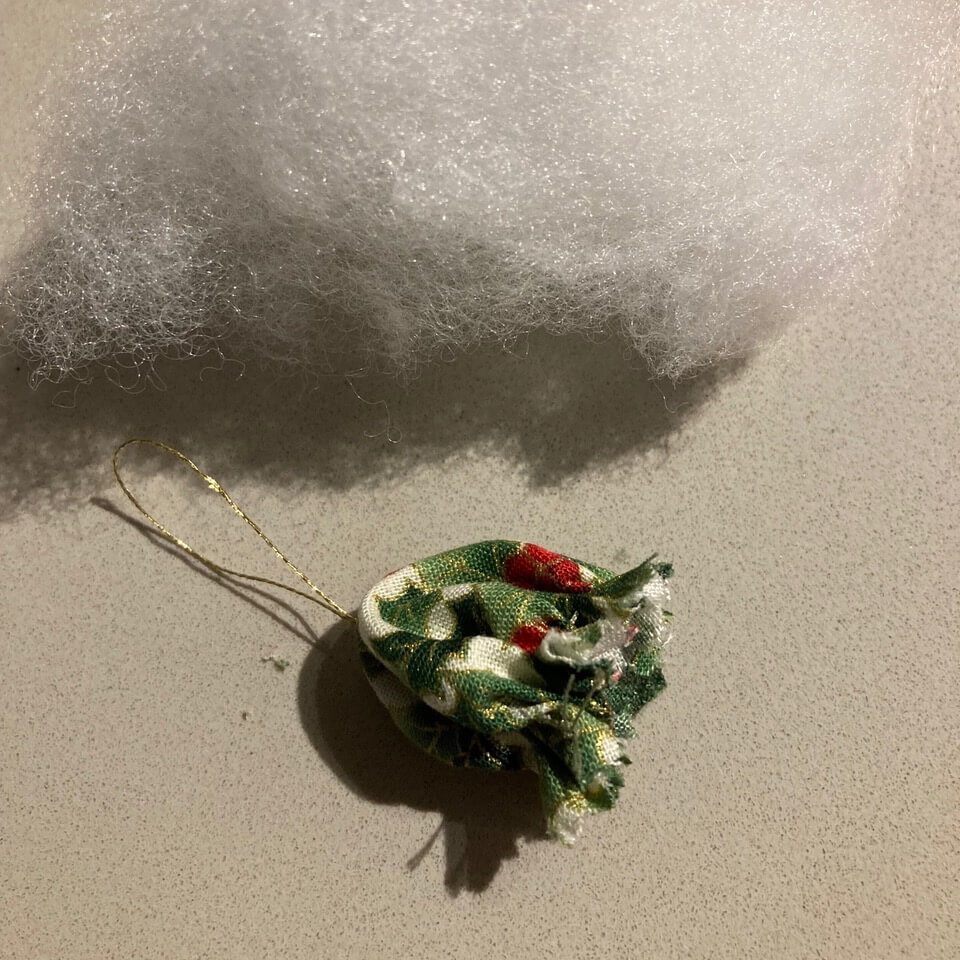
Make a running stitch about 1/4 inch in and then draw in and tie a knot make the hat.
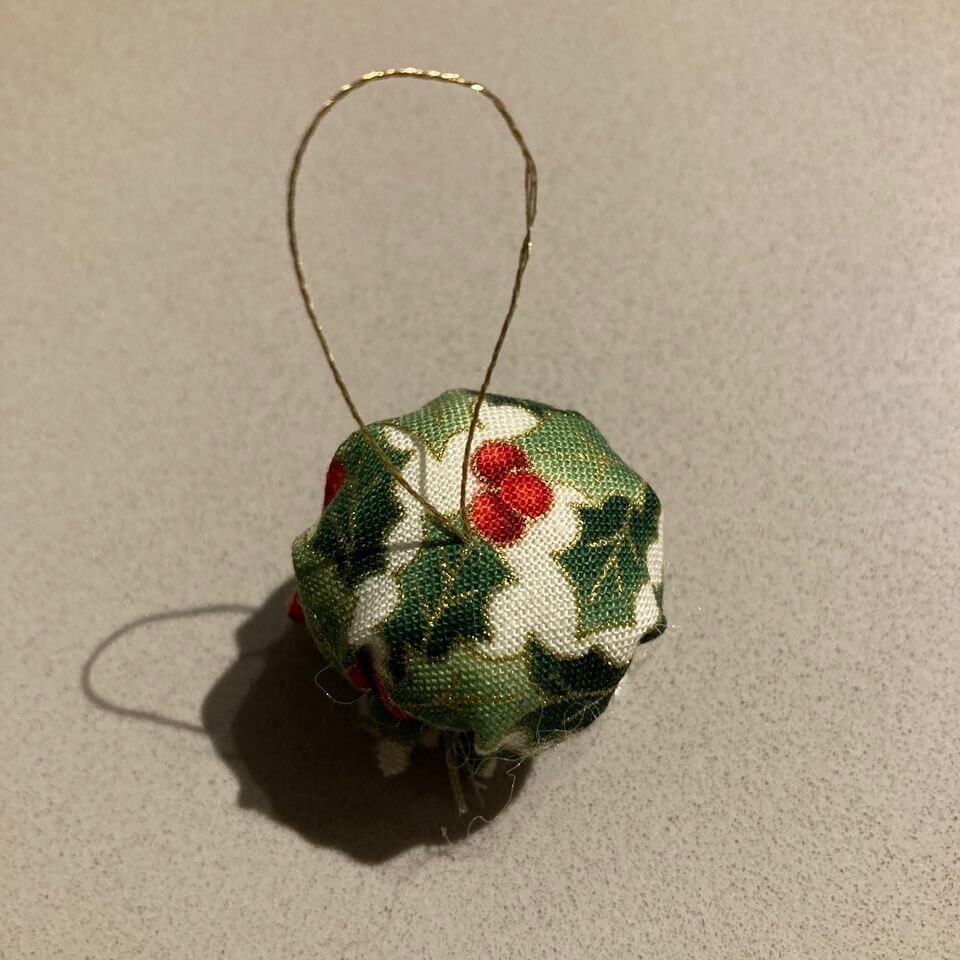
Stuff the hat with cotton.
Put plenty glue on the stuffing and place on the shell.
Carefully pull down the fabric while sticking it to the shell.
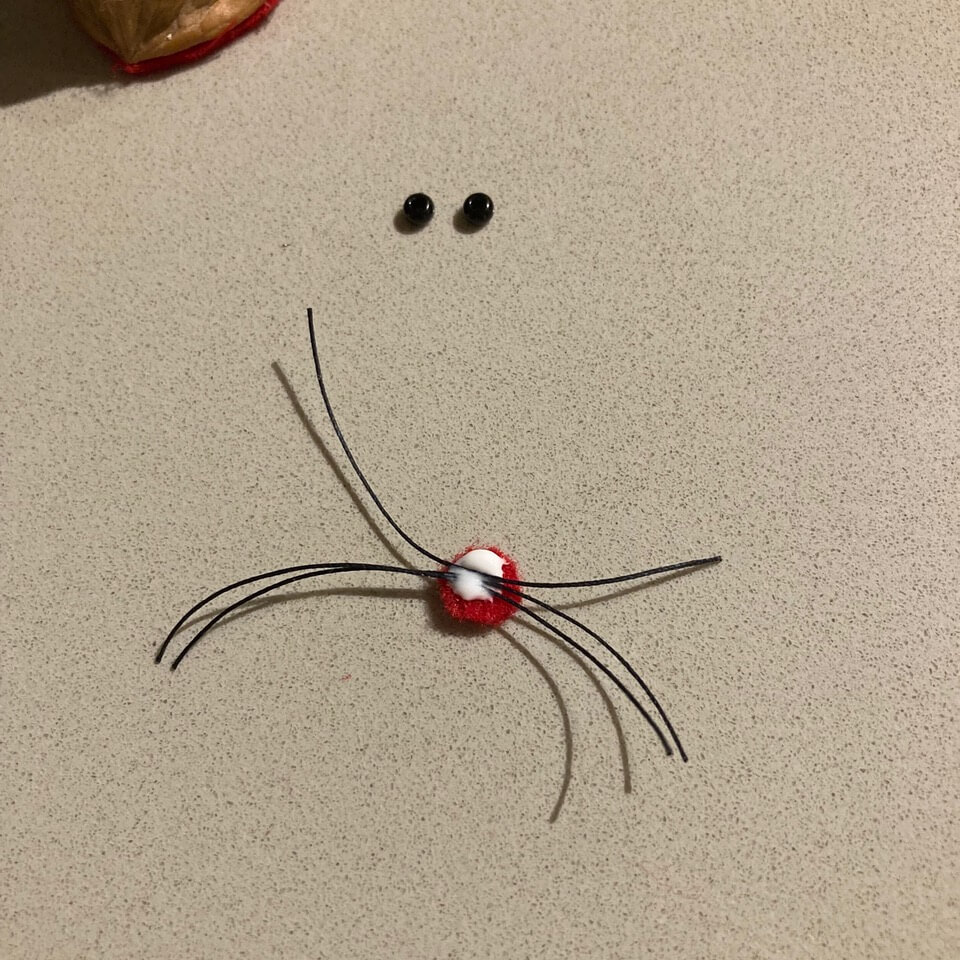

Cut or punch out a small circle of felt for the nose.
Put a small drop of glue on the circle and place whiskers on and attach to shell.
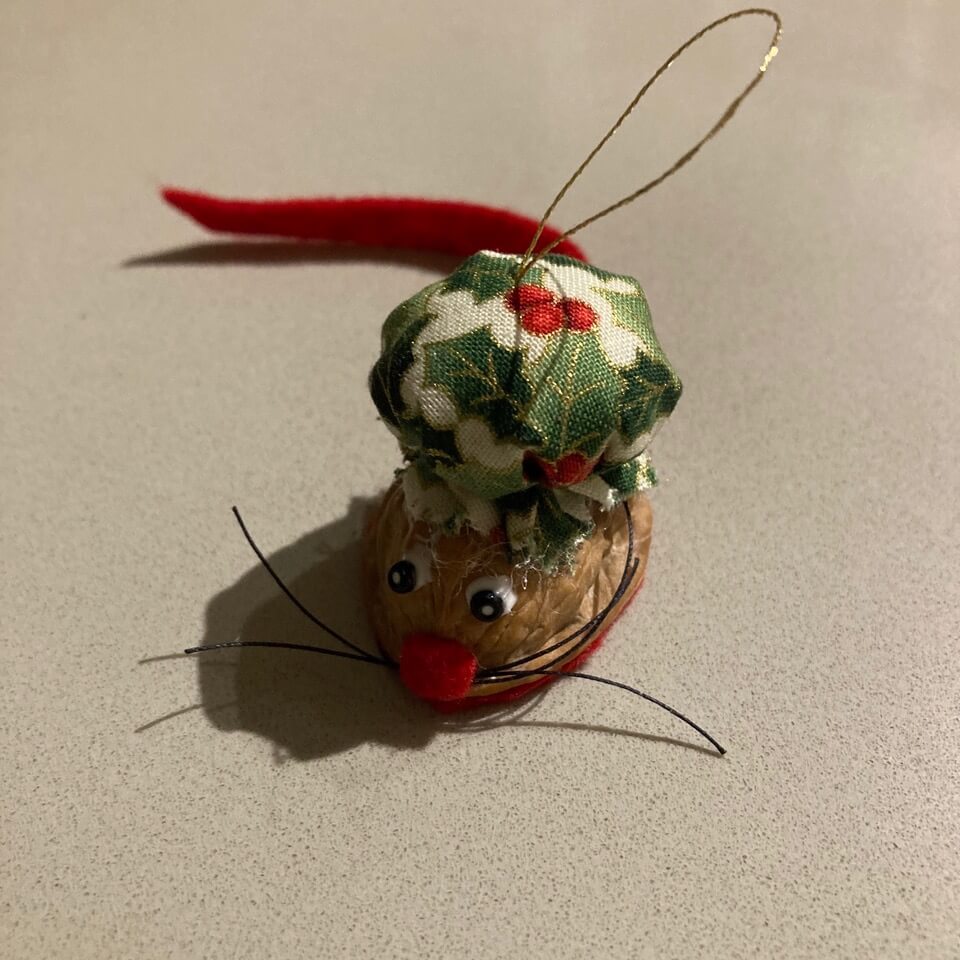
Put a 2 small drops of glue on the shell and place a black bead on each drop.
Leave to dry.

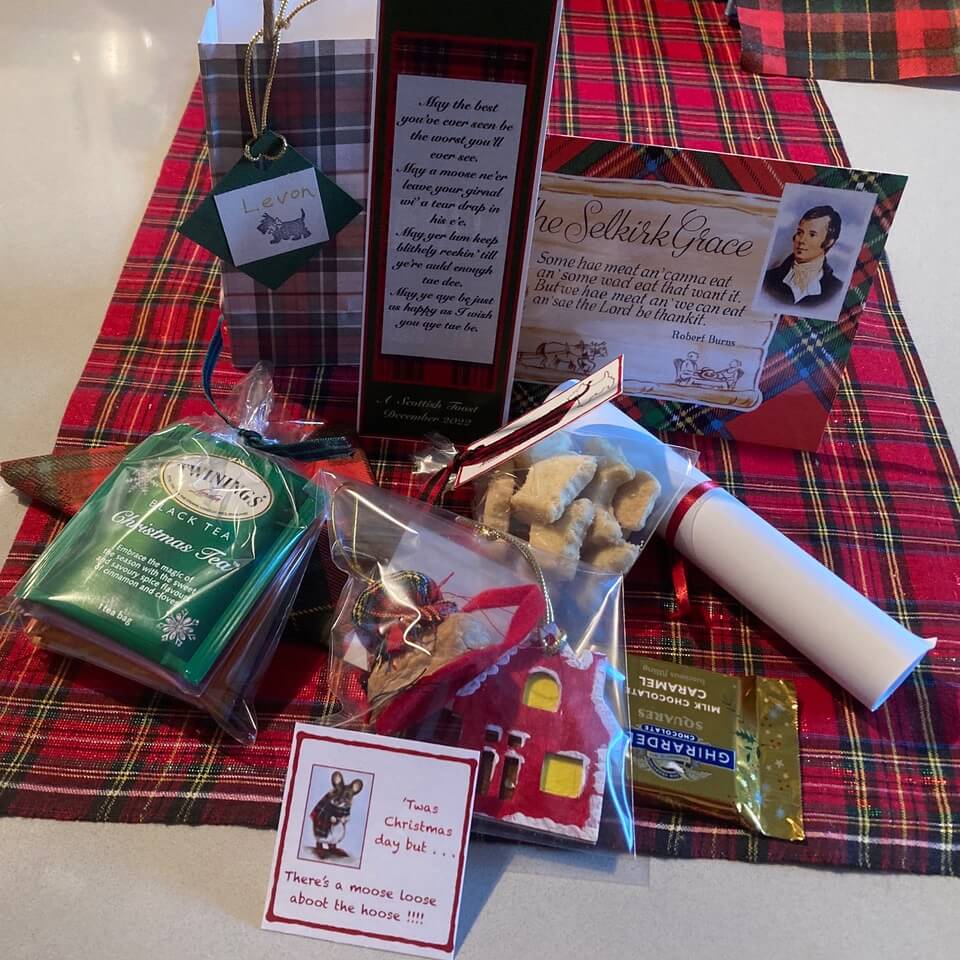
So that is brief outline of how to make Walnut Mice or Christmas mice as I now call them.
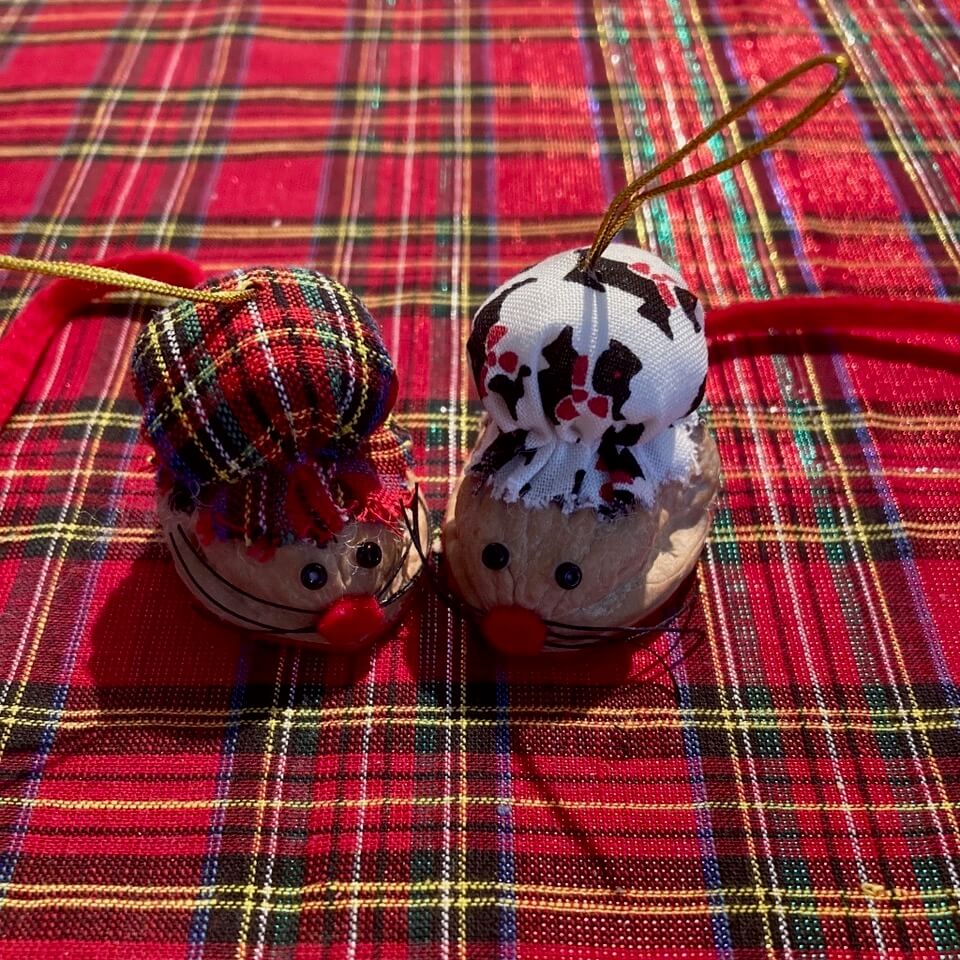
At the top of the page you see them in mass production.
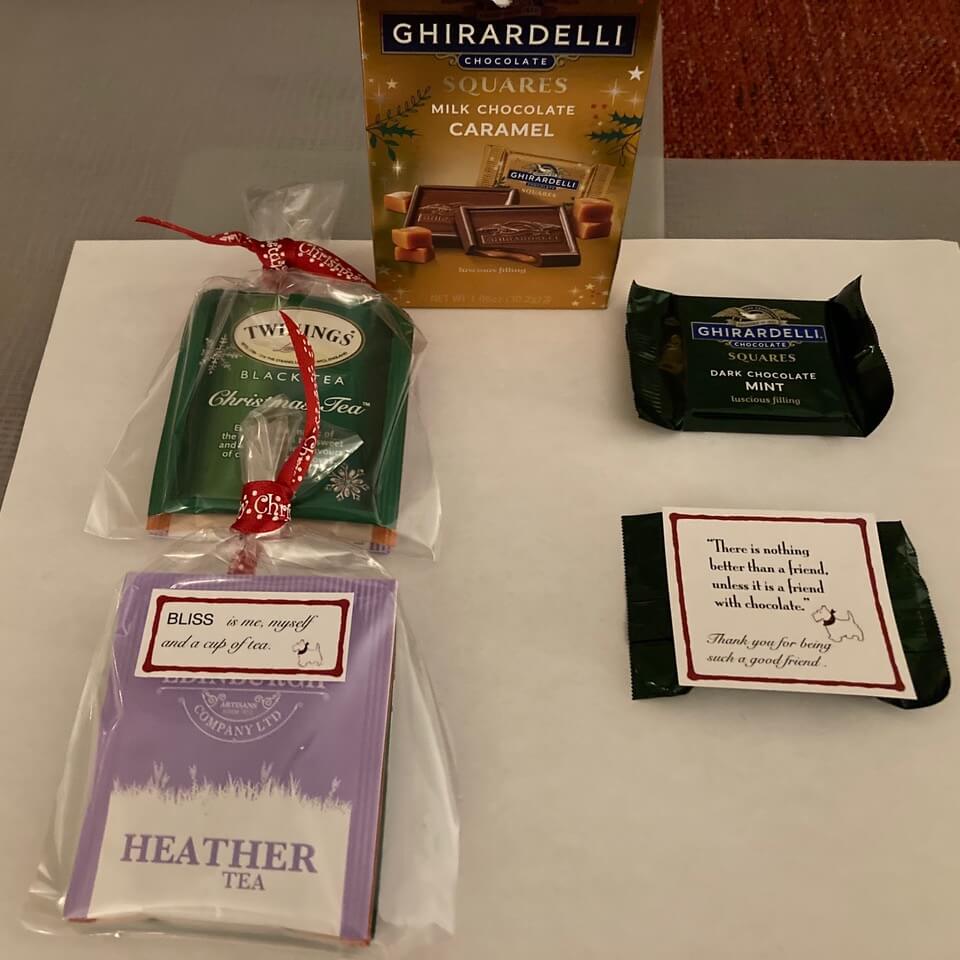
The reason for that was that my Christmas theme tea in 2022 was a Scottish Christmas tea.
I this last lot of pictures and the large picture below you will see the process of the little houses also and the completed mice.. This tied in with the Scottish saying “There is a moose love about the hoose!”Well that is another story.